Contrary to common belief, a steady hand is not an innate gift but a trainable mechanical skill; wobbling lines are a diagnostic symptom of a specific failure in motor control, not a lack of talent.
- The arm’s complexity means that using large muscle groups for fine detail is a primary source of error; motor isolation is key.
- Reliance on tools like magnifiers can de-calibrate your natural proprioception, worsening hand-eye coordination over time.
Recommendation: Stop practicing aimlessly and begin a diagnostic protocol to identify whether your weakness is pressure, angle, or speed, then apply targeted exercises to correct that specific mechanical fault.
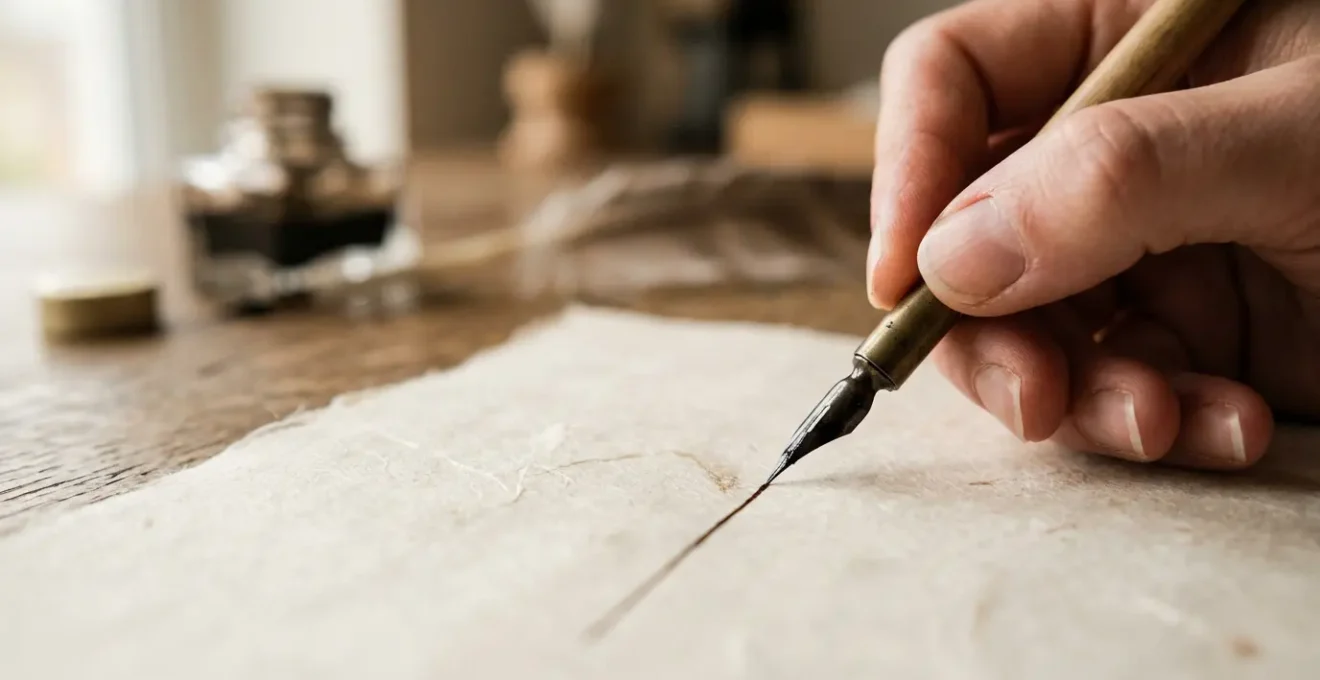
The frustration is palpable. You lean in, brush poised, to render the delicate vein of a petal or the glint in a miniature portrait’s eye. You hold your breath, but the line still wavers—a frustrating tremor that betrays your intention. You look to the works of Renaissance masters, at hair strands rendered with impossible fidelity, and wonder what separates their control from your own. The common advice to « just practice more » or « relax your hand » feels hollow. These platitudes ignore the root of the problem, treating a complex biomechanical process as a simple matter of will or repetition.
The truth is, the masters of old were not gifted with supernatural steadiness. They were products of a system built on methodical, diagnostic training. Their precision came from a deep, often intuitive, understanding of the body as a machine. They knew when to move from the shoulder, the elbow, or the fingers. This article will not offer you vague encouragement. Instead, it will provide a classical, methodical framework to deconstruct your technique. We will move beyond the surface-level symptom—the wobbly line—to diagnose its underlying mechanical cause.
This is not about innate talent; it is about trainable motor control. By understanding the biomechanics of your arm, the role of proprioception, the correct use of tools, and the structure of deliberate practice, you can systematically dismantle the barriers to achieving hairline precision. We will explore how to identify your specific point of failure and provide a clear protocol to rebuild your technique from a foundation of mechanical understanding, just as an apprentice would have learned centuries ago.
This guide provides a structured path from diagnosis to mastery. Each section addresses a critical component of motor control, offering methodical insights and actionable protocols to transform your mark-making from hesitant to confident.
Contents: Achieving Hairline Precision in Detail Work
- Why Does Your Whole Arm Move When Only Your Fingers Should for Fine Detail?
- How to Practise 15 Minutes Daily for Noticeably Steadier Lines in 8 Weeks?
- Kolinsky Sable vs Synthetic Rigger: Which Holds a Finer Point for Botanical Work?
- The Magnifier Dependency That Ruins Natural Hand Coordination Over Time
- When to Tackle Fine Detail Work: Morning Sessions vs After Warm-Up Sketches?
- How to Identify Whether Your Weak Point Is Pressure, Angle, or Speed?
- How to Achieve a Mirror Finish with a Hand Plane After 50 Hours of Practice?
- Why Do Self-Taught Artists Plateau After 5 Years Without Formal Technique Training?
Why Does Your Whole Arm Move When Only Your Fingers Should for Fine Detail?
The primary mechanical failure for artists struggling with fine detail is a lack of motor isolation. You attempt to draw a tiny, controlled line, yet your entire arm tenses and moves, introducing instability. This occurs because the human arm is an astonishingly complex system. Indeed, research reveals the upper limb contains over 70 muscles and offers 34 rotational degrees of freedom. When faced with a task, the brain doesn’t always default to the most efficient muscle group. Instead, it often engages larger, more powerful muscles (like the deltoid and bicep) out of habit, a method suitable for broad gestures but disastrous for hairline precision.
For detail work, movement should originate from the fingers and, occasionally, the wrist, while the rest of the arm acts as a stabilizing structure. Think of your forearm and hand resting firmly on the work surface or a mahl stick. This bracing action isolates the small, dexterous muscles in your hand, which are designed for fine motor control. When your entire arm hovers or moves, you are attempting to control a complex chain of levers with large, imprecise muscle groups, leading to the characteristic wobble of an unsteady line. It is a fundamental mismatch of tool to task.
As researchers note regarding neuromuscular control, skilled individuals learn to activate specific muscle patterns efficiently, not engaging every possible muscle. As a team from Frontiers in Sports and Active Living explains in their work on neuromuscular control:
individuals display structured muscle activity patterns that do not span the entire theoretical solution space
– Research team from Frontiers in Sports and Active Living, Neuromuscular control: from a biomechanist’s perspective
This means mastery isn’t about strength, but about economy of movement. The goal is to train your brain to bypass the larger muscle groups and send signals directly to the small, precise muscles required for the mark. This is not an intuitive process; it is a learned, disciplined skill of conscious muscle isolation. Without this foundational understanding, any practice is merely reinforcing inefficient motor habits.
How to Practise 15 Minutes Daily for Noticeably Steadier Lines in 8 Weeks?
Achieving a steady hand is not about endless, mindless practice. It requires a structured, progressive protocol that isolates and develops each component of line control. A mere 15 minutes of daily deliberate practice, focused with intent, will yield far greater results than hours of unfocused sketching. The key is to build muscle memory methodically. An effective regimen does not begin with complex forms but with the fundamental atoms of drawing: straight lines and controlled curves.
The progression should be designed to gradually increase instability, forcing your neuromuscular system to adapt and refine its control. You begin with maximum support, with your wrist and forearm anchored, and slowly transition to movements requiring more independent control. This systematic approach ensures you are building skill on a solid foundation, not just hoping for improvement. The image below illustrates a typical progression of hand support, from a fully rested palm to a hovering technique, each stage demanding a higher level of motor isolation.
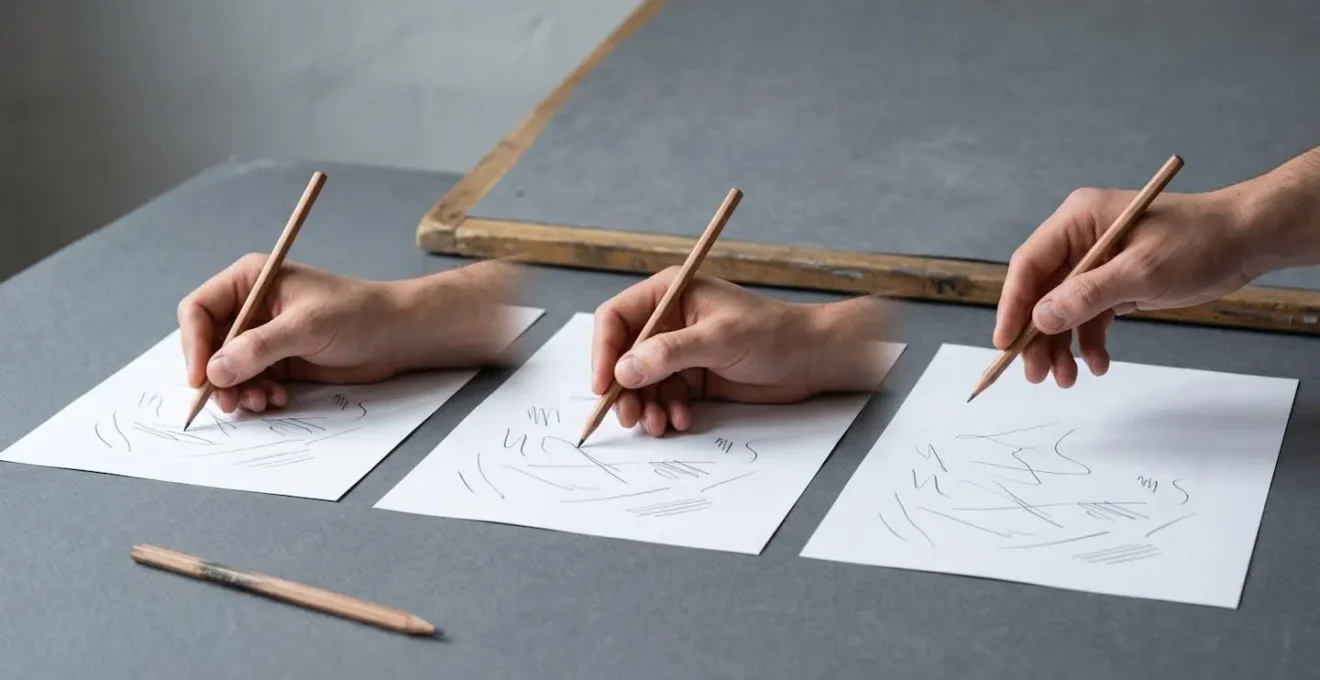
As you can see, each position changes which muscle groups are primarily engaged. The goal is to master control at each level before proceeding. An effective 8-week protocol might be structured as follows:
- Weeks 1-2: Straight Lines & Pressure Consistency. Anchor your hand and draw parallel lines—horizontal, vertical, and diagonal. The sole focus is on achieving uniform thickness from start to finish. This trains consistent pressure application.
- Weeks 3-4: Controlled Speed & Ghosting. Practice the ‘ghosting’ technique: rehearse the motion above the paper several times before committing to a confident, single stroke. This connects intention to execution and builds confidence.
- Weeks 5-6: Angle Control & Geometric Forms. Draw perfect circles, ellipses, and squares without rotating the paper. Any distortion reveals an unconscious shift in your wrist or finger angle, providing direct diagnostic feedback.
- Weeks 7-8: Combined Execution. Practice complex patterns, such as cross-hatching on a curved surface or repeating arabesques, that require you to manage pressure, speed, and angle simultaneously.
This methodical progression ensures you are not just practicing, but diagnosing and correcting failures in a controlled environment. Each 15-minute session becomes a targeted workout for your fine motor skills.
Kolinsky Sable vs Synthetic Rigger: Which Holds a Finer Point for Botanical Work?
Artists often seek a solution in their tools, believing the perfect brush will grant them the control they lack. While tool quality is important, its role is often misunderstood. The choice between a natural Kolinsky sable and a modern synthetic rigger is not about which is « better, » but which is the correct mechanical match for the paint’s viscosity and the artist’s technique. Both can achieve a needle-fine point, but their material properties dictate their optimal use.
A Kolinsky sable’s superiority lies in its structure. The natural scales on the hair create an unparalleled capillary action, allowing it to hold a large reservoir of watery media (like watercolor or ink) and release it in a long, consistent flow. Its belly acts as a capacitor for paint. In contrast, modern synthetic fibers are engineered for snap and resilience. They return to their original shape instantly, making them excellent for precise, repetitive marks and for handling thicker media like gouache or acrylic, which would damage the delicate structure of a sable. As a guide from Paul Rubens notes, high-quality synthetic alternatives can deliver much of the performance at a fraction of the cost, making them ideal for practice.
The following table breaks down the performance characteristics to guide your selection based on the specific task at hand, not on brand prestige.
| Characteristic | Kolinsky Sable | Synthetic Rigger | Best Application |
|---|---|---|---|
| Water Retention | Superior (natural hair scales create capillary action) | Moderate (engineered fiber) | Sable: Long tendrils, continuous washes |
| Point Precision | Excellent natural taper | Excellent engineered taper | Equal for botanical stamen detail |
| Spring/Snap-Back | Soft, gradual return | Stiff, immediate return | Synthetic: Thick gouache deposits |
| Paint Viscosity Compatibility | Watery media (watercolor, ink wash) | Thick media (gouache, acrylic detail) | Match brush to paint consistency |
| Cold Press Paper | May catch and splay on texture | Robust tip maintains shape | Synthetic for textured surfaces |
| Hot Press Paper | Glides smoothly, ideal performance | Good performance | Sable for smooth surfaces |
| Cost per Brush | $30-$150+ | $8-$25 | Synthetic for practice/students |
Ultimately, a wobbly line is a failure of the hand, not the brush. A master can draw a perfect line with a frayed stick. Your focus should be on developing the motor control to use any tool effectively. Choose your brush as a mechanic chooses a wrench: for its specific function within the task. For long, flowing lines with ink, the sable excels. For crisp, controlled dots of thick gouache, the synthetic is superior. The tool doesn’t create the skill; it only enables it.
The Magnifier Dependency That Ruins Natural Hand Coordination Over Time
For artists working on miniatures or highly detailed botanical studies, a magnifier seems like an indispensable tool. It allows you to see the microscopic landscape of your work surface. However, over-reliance on magnification can become a crutch that actively degrades your most valuable asset: proprioception. Proprioception is your brain’s innate sense of the position and movement of your body. It is the « sixth sense » that allows you to touch your nose with your eyes closed. It is the very foundation of hand-eye coordination.
When you work exclusively through a magnifier, you are training your brain to depend on an artificial, magnified visual feedback loop. You are teaching your hand to respond to what the lens shows, not to what it physically feels. Over time, this weakens the natural proprioceptive link between your brain and your fingertips. The moment you remove the magnifier, your hand feels lost and your lines become unsteady, because the brain’s internal map of your hand’s position has been de-calibrated. You have become dependent on the tool to aim.
The solution is not to discard the magnifier entirely but to relegate it to its proper role: a tool for inspection, not execution. You must wean your brain off its dependency and retrain your natural hand-eye-brain connection. This requires a conscious and methodical protocol, forcing your hand to execute strokes based on feel and muscle memory, using the magnifier only to check the result afterward. This process rebuilds and refines your proprioceptive accuracy.
Action Plan: The Magnifier Weaning Protocol
- Study and Plan: Use the magnifier to study the area and visualize the exact path and pressure of the required stroke. Plan your attack.
- Remove and Execute: Before making the mark, remove the magnifier. Execute the stroke based on your mental rehearsal and proprioceptive feel.
- Check and Calibrate: After the stroke is complete, use the magnifier to inspect the result. Compare it to your intention. This creates a feedback loop that calibrates your natural hand control.
- Progressive Complexity: Start with simple lines. As your accuracy improves, progress to more complex details like small leaf veins or eyelash clusters, always executing without the magnifier.
- Reserve for QA: Ultimately, the magnifier should only be used for final quality assurance, not as a guidance system during the creative process. Your hand must operate independently.
By following this protocol, you transform the magnifier from a crutch that weakens you into a training tool that strengthens your most fundamental skills. According to proprioceptive-focused resources like those from experts in occupational therapy, engaging in tasks that challenge the body’s sense of position is crucial for refining motor control.
When to Tackle Fine Detail Work: Morning Sessions vs After Warm-Up Sketches?
Many artists approach their work sessions haphazardly, diving into the most demanding tasks whenever they find the time. However, a methodical artist understands that fine motor control is deeply influenced by both chronobiology and proper muscular preparation. Tackling fine detail is not just about *what* you do, but *when* you do it. Your nervous system has an optimal window for peak precision, typically mid-morning after initial grogginess has subsided but before mental fatigue sets in.
Equally important is the nature of your warm-up. Many artists believe any kind of sketching will suffice, often engaging in large, gestural drawings. This is a critical error. A warm-up should be task-specific. Engaging large muscle groups (shoulder, arm) can actually make it *harder* to transition to the micro-movements required for detail work. You are essentially warming up the wrong engine. The warm-up must mirror the exact movements you are about to perform. For botanical work, this means practicing the small, curved flicks of stamens and veins. For portraiture, it might be the gentle arcs of eyelashes. The goal is to activate the precise neural pathways and muscle groups needed for the task at hand.
Case Study: Task-Specific vs. Generic Warm-Ups
Research into motor skill preparation confirms the superiority of task-specific warm-ups. As highlighted in a study from a professional illustrator’s resource, an artist preparing for botanical detail found that five minutes of making tiny, curved flicks—mimicking the motion of painting stamens—on scrap paper activated the exact neural pathways required. In contrast, performing large, gestural warm-up sketches actually hindered the immediate transition to micro-movements, making their hand feel clumsy and less controlled. The key takeaway is that the warm-up must be a direct rehearsal of the target task’s specific biomechanics.
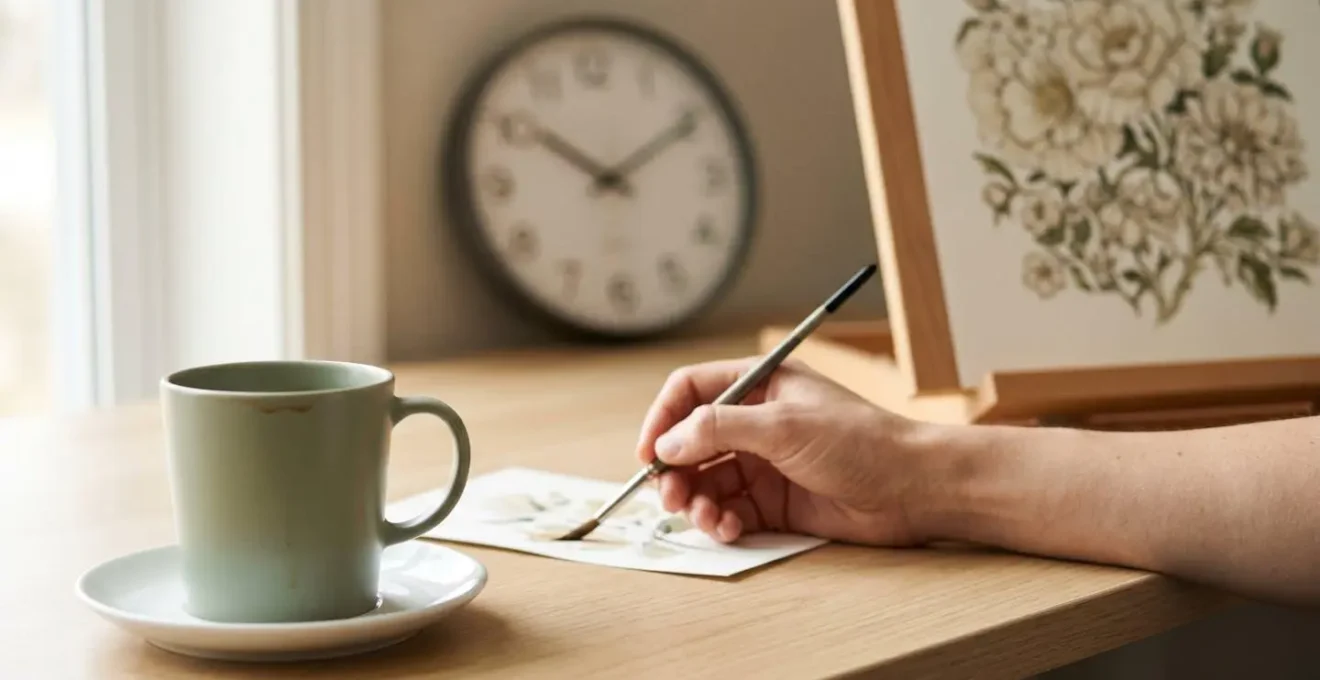
The ideal sequence for a session focused on fine detail is therefore highly structured. It begins with the completion of morning rituals, moves into a brief, task-specific warm-up, and only then proceeds to the primary artwork, all timed to coincide with your body’s peak state of alertness. The workspace itself, bathed in consistent morning light, becomes part of this controlled environment.
This methodical approach to timing and preparation removes variables of fatigue and muscular confusion, allowing you to bring your maximum control to the canvas every time. It is a hallmark of the professional’s mindset: controlling the environment to ensure predictable, high-quality results.
How to Identify Whether Your Weak Point Is Pressure, Angle, or Speed?
A wobbly line is a symptom, not a diagnosis. To correct the issue, you must first identify which of the three core variables of mark-making—pressure, angle, or speed—is the root cause of the failure. Treating a speed problem with pressure exercises is futile. A methodical artist acts as their own diagnostician, using specific drawing tests to isolate the variable at fault. Only with a correct diagnosis can you apply the correct remedy.
These diagnostic tests are not about creating a beautiful drawing; they are clinical examinations of your motor control. They are designed to make failure points obvious. By attempting a simple task where two variables are held constant, any error in the third becomes immediately apparent. For example, by drawing a line at a constant speed and angle, any wavering in thickness immediately points to a failure in pressure control.
Here is a simple but effective diagnostic protocol you can perform with a pen and paper to identify your specific weakness:
- The Pressure Test: Draw a series of long, slow, parallel lines. Your only goal is to maintain a perfectly uniform line weight from beginning to end. If your lines start thick and end thin, or vice-versa, your pressure control is weak. You are unconsciously altering your grip force during the stroke.
- The Angle Test: Without rotating your paper, draw a series of perfect circles and squares. Lock your wrist and try to generate the shape from your elbow or shoulder. If your circles become ovals or your squares have curved sides, your angle control is the problem. Your wrist is shifting mid-stroke, altering the tool’s angle of attack.
- The Speed Test: Create a « connect-the-dots » pattern with points spaced far apart. Your task is to connect them with fast, confident, single straight strokes. If your lines waver, hesitate, or curve in the middle, your speed is too slow. You are trying to « steer » the line in real-time instead of trusting a single, ballistic motion.
For an even deeper analysis, use your smartphone’s slow-motion video feature to film your hand while performing these tests. This can reveal subconscious micro-hesitations, grip shifts, or a tensing « white-knuckle » grip that are invisible to the naked eye but are clear indicators of speed, angle, and pressure issues, respectively. Once you have your diagnosis, you can focus your practice exclusively on exercises that target that specific variable.
How to Achieve a Mirror Finish with a Hand Plane After 50 Hours of Practice?
In the world of fine woodworking, achieving a « mirror finish » with a hand plane is a pinnacle of skill. It represents a surface so perfectly smooth that it reflects light like glass. This is not achieved with brute force, but through a sublime mastery of pressure, angle, and rhythm. While seemingly unrelated, this artisan’s goal provides a powerful metaphor for the advanced painter seeking ultimate control in techniques like glazing, varnishing, or laying a flawless gesso ground.
The woodworker’s hand plane must be held at a precise, unwavering angle. The pressure must be distributed evenly—slightly more on the toe at the start of the stroke, perfectly balanced in the middle, and on the heel at the end. Each pass is a long, smooth, confident motion, building upon the last. After dozens of hours, this process becomes second nature, a form of proprioceptive mastery where the craftsman feels the blade’s infinitesimal bite into the wood. The result is a surface that cannot be achieved by sanding alone; it comes from methodical, skilled cutting.
For the painter, this translates directly to brush control in the final stages of a work. When applying a thin, transparent glaze, the brush must glide across the surface with perfectly even pressure to avoid streaks. When laying a final varnish, the stroke must be executed with a single, confident motion to prevent ridges. The « mirror finish » for a painter is an invisible surface—a glaze so smooth it doesn’t look like a separate layer, or a varnish so flawless it has no texture of its own. This level of control is born from the same principles as the hand plane: absolute consistency in angle, pressure, and speed, repeated over thousands of strokes until the motion is perfect and automatic.
This advanced stage of motor control is no longer about drawing a line, but about creating a perfect surface. It is the transition from mark-making to surface-finishing. It requires patience and an embrace of repetition, not for the sake of practice, but for the pursuit of an ideal finish. It is the final frontier of a steady hand, where technique becomes so refined it disappears entirely.
Key Takeaways
- Unsteady lines are a symptom of a specific mechanical failure (pressure, angle, or speed), not a general lack of talent.
- Effective practice must be diagnostic and task-specific; generic warm-ups or aimless repetition can reinforce bad habits.
- Over-reliance on tools like magnifiers can degrade your natural proprioception, making you dependent and less coordinated without them.
Why Do Self-Taught Artists Plateau After 5 Years Without Formal Technique Training?
Many talented self-taught artists experience remarkable growth in their first few years, powered by intuition and passion. They develop a personal style and a set of techniques that work for them. However, a common phenomenon occurs around the five-year mark: a hard plateau. Progress stalls, and the same persistent errors—like wobbly fine lines—refuse to resolve, no matter how many hours are invested. This plateau is not a failure of talent but a predictable outcome of an unstructured learning process.
The core issue is the lack of a diagnostic framework. A self-taught artist often finds a way that « works » without understanding *why* it works. When that method reaches its limit of complexity, the artist has no system for identifying the specific sub-skill that is failing. They see the symptom (a wobbly line) but cannot diagnose the cause (e.g., poor motor isolation or a speed control issue). As the foundational drawing course Drawabox.com wisely notes, « wobbly lines suggest that you’re hesitating and not quite giving up control. » Without a framework to build that control, hesitation becomes a permanent habit.
This stands in stark contrast to historical training models, which were explicitly designed to prevent such plateaus. An analysis of the Renaissance apprenticeship system reveals a highly structured curriculum:
The Renaissance Apprenticeship as a Plateau-Prevention Model
Historical analysis shows that apprentices progressed through a systematic curriculum. They began by grinding pigments (material science), then copied master drawings (technique inheritance), drew from plaster casts (form understanding), and finally progressed to anatomical study (structural knowledge). This deliberate practice ensured each skill was built upon a solid foundation. This system inherently provided a diagnostic framework. If an apprentice failed at life drawing, the master could trace the error back to a weakness in understanding form, a skill honed during the plaster cast phase. This is what modern self-taught artists often lack: a system to deconstruct a high-level failure into its fundamental, trainable components.
Formal training, whether in a classical atelier or through a structured self-study program, provides this crucial framework. It teaches you not just *how* to draw, but how to *think* like a mechanic of your own body. It gives you the diagnostic tools to ask: Is my line wavering because of my grip (pressure), my wrist movement (angle), or my hesitation (speed)? Without this ability to self-diagnose and apply targeted practice, an artist is doomed to repeat the same errors, forever polishing a flawed technique instead of rebuilding it on a solid, methodical foundation.
Ultimately, achieving the precision of the masters requires adopting their mindset. It demands that you cease being merely an artist and become a dedicated student of your own physical mechanics. The path forward involves a commitment to structured, diagnostic practice. Begin today by implementing these methodical protocols to transform your fine line control from a source of frustration to a mark of mastery.